
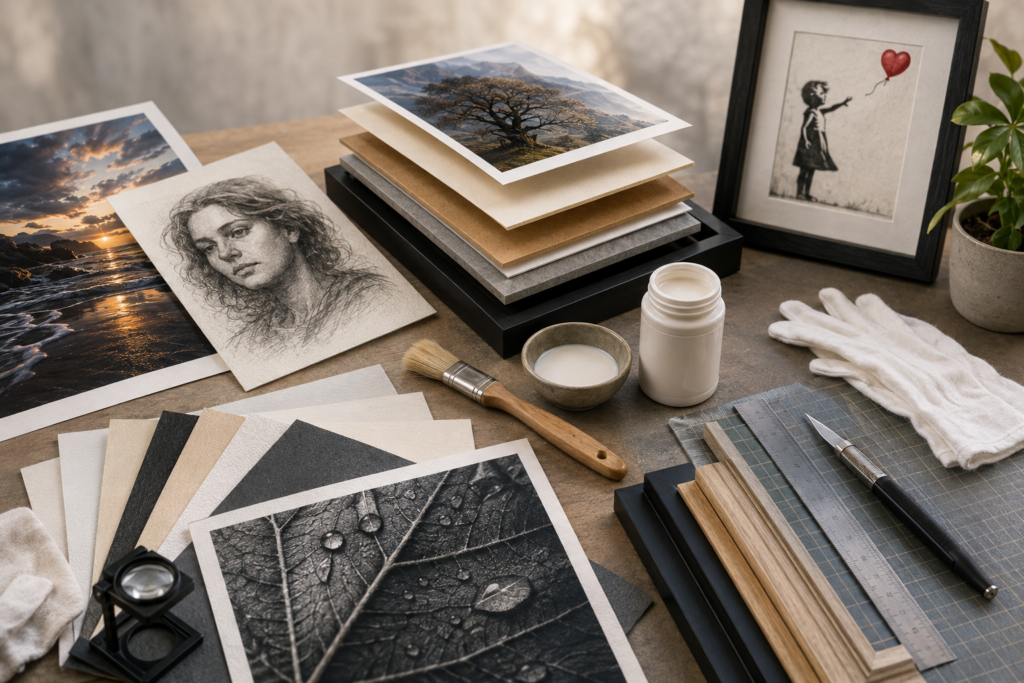
A strong fine art print depends on more than the image sent to the printer. Paper, ink, mounting materials, adhesives, and finishing methods all affect how the finished piece looks, feels, and holds up over time.
For artists, photographers, and designers producing physical editions, understanding these material choices makes it easier to create prints that match the character of the original work without introducing avoidable production problems.
Start with the surface the artwork actually needs
Paper selection is often treated as a technical decision, but it has a visible creative effect. A glossy photographic surface can make saturated colours and sharp details feel more intense, while a textured matte paper can give drawings and softer photographic work a more tactile appearance.
The right choice depends on the artwork rather than a single definition of “premium.” A highly detailed digital composition may benefit from a smooth surface that preserves fine edges. A pencil drawing, on the other hand, may feel more natural on a paper with subtle texture and lower reflectivity.
Artists planning editions should ideally compare physical samples before committing to a large run. Viewing the same image on several stocks under normal room lighting can reveal differences that are difficult to judge on a monitor. Ben Heine’s own art print collection shows how artworks can be produced across formats such as canvas, giclée prints, and other finished display options.
Mounting materials become part of the finished print
Once a print moves beyond loose paper, material compatibility becomes increasingly important. Mounted pieces may combine printed paper, board, wood-based products, films, or other layers. Each material behaves differently when exposed to moisture, pressure, and temperature.
The bonding method therefore shouldn’t be selected independently of the substrates. In commercial print finishing and paper converting, manufacturers may consider different water-based adhesive solutions depending on the surfaces being joined, the production method, and the performance required from the finished piece.
That doesn’t mean one adhesive is appropriate for every artwork. A production print being permanently mounted to a display board has different requirements from an original drawing being prepared for conservation framing. Artists working with printers or fabricators should explain whether a piece needs permanent bonding, removable mounting, lamination, or another finishing process before materials are selected.
Think about preservation before choosing permanent finishes
A beautiful finish isn’t automatically a preservation-friendly one. If a print has significant artistic, financial, or archival value, every material surrounding it deserves closer attention.
The Library of Congress preservation guidance for matting and framing recommends chemically stable materials for preservation framing and notes that non-adhesive hinging methods are preferable in some circumstances. When hinges are required, its guidance discusses specific conservation approaches rather than ordinary pressure-sensitive tapes.
This distinction matters because commercial mounting and conservation framing solve different problems. Permanent mounting can be completely reasonable for reproductions, decorative prints, exhibition graphics, and products designed around a particular backing. For valuable originals or works that may need future conservation treatment, reversibility can matter much more.
Before committing to a finish, ask a practical question: does this artwork need to remain removable from its backing? If the answer might be yes, discuss the mounting system with an experienced framer or conservator before anything permanent is applied.
Test the complete print, not just individual materials
Materials that perform well separately can behave differently once combined. Paper may expand slightly when exposed to moisture. A backing board may react differently to changing humidity. A glossy surface can show imperfections that would be almost invisible on matte stock.
For limited editions or expensive large-format work, producing a finished prototype can prevent costly surprises. Test the actual paper, printing process, mounting material, adhesive or fixing method, protective layer, and frame configuration that will be used in production.
Then inspect the sample from several angles and under different lighting. Look for waves in the paper, bubbles, visible mounting marks, edge lifting, unwanted reflections, or changes in colour and surface texture. If the work will be transported or exhibited repeatedly, handling the prototype can also expose weak corners and other vulnerable areas.
Documentation is useful as well. Record the paper manufacturer and stock, ink or printing process, mounting system, backing material, and finishing method. For artists producing numbered editions, keeping these specifications consistent makes later prints easier to reproduce accurately.
Let the artwork determine the production method
Fine art printing works best when production decisions support the image rather than compete with it. A dramatic photographic piece may call for a polished, rigid presentation, while delicate line work may benefit from a quieter paper surface and traditional framing.
There isn’t one material combination that suits every artist or every print. The better approach is to think of paper, mounting, bonding, and finishing as parts of the artwork’s physical presentation. Choose them together, test the complete result, and consider how the piece is expected to be displayed and handled.
When those decisions are made deliberately, the final print feels less like a reproduction produced from a file and more like a finished physical artwork.



























2 Comments on "How Material Choices Shape the Finish of Fine Art Prints"
Would you like to share your thoughts?
Your email address will not be published. Required fields are marked *